Monday, January 20, 2014

Breakfast Frittata Muffins

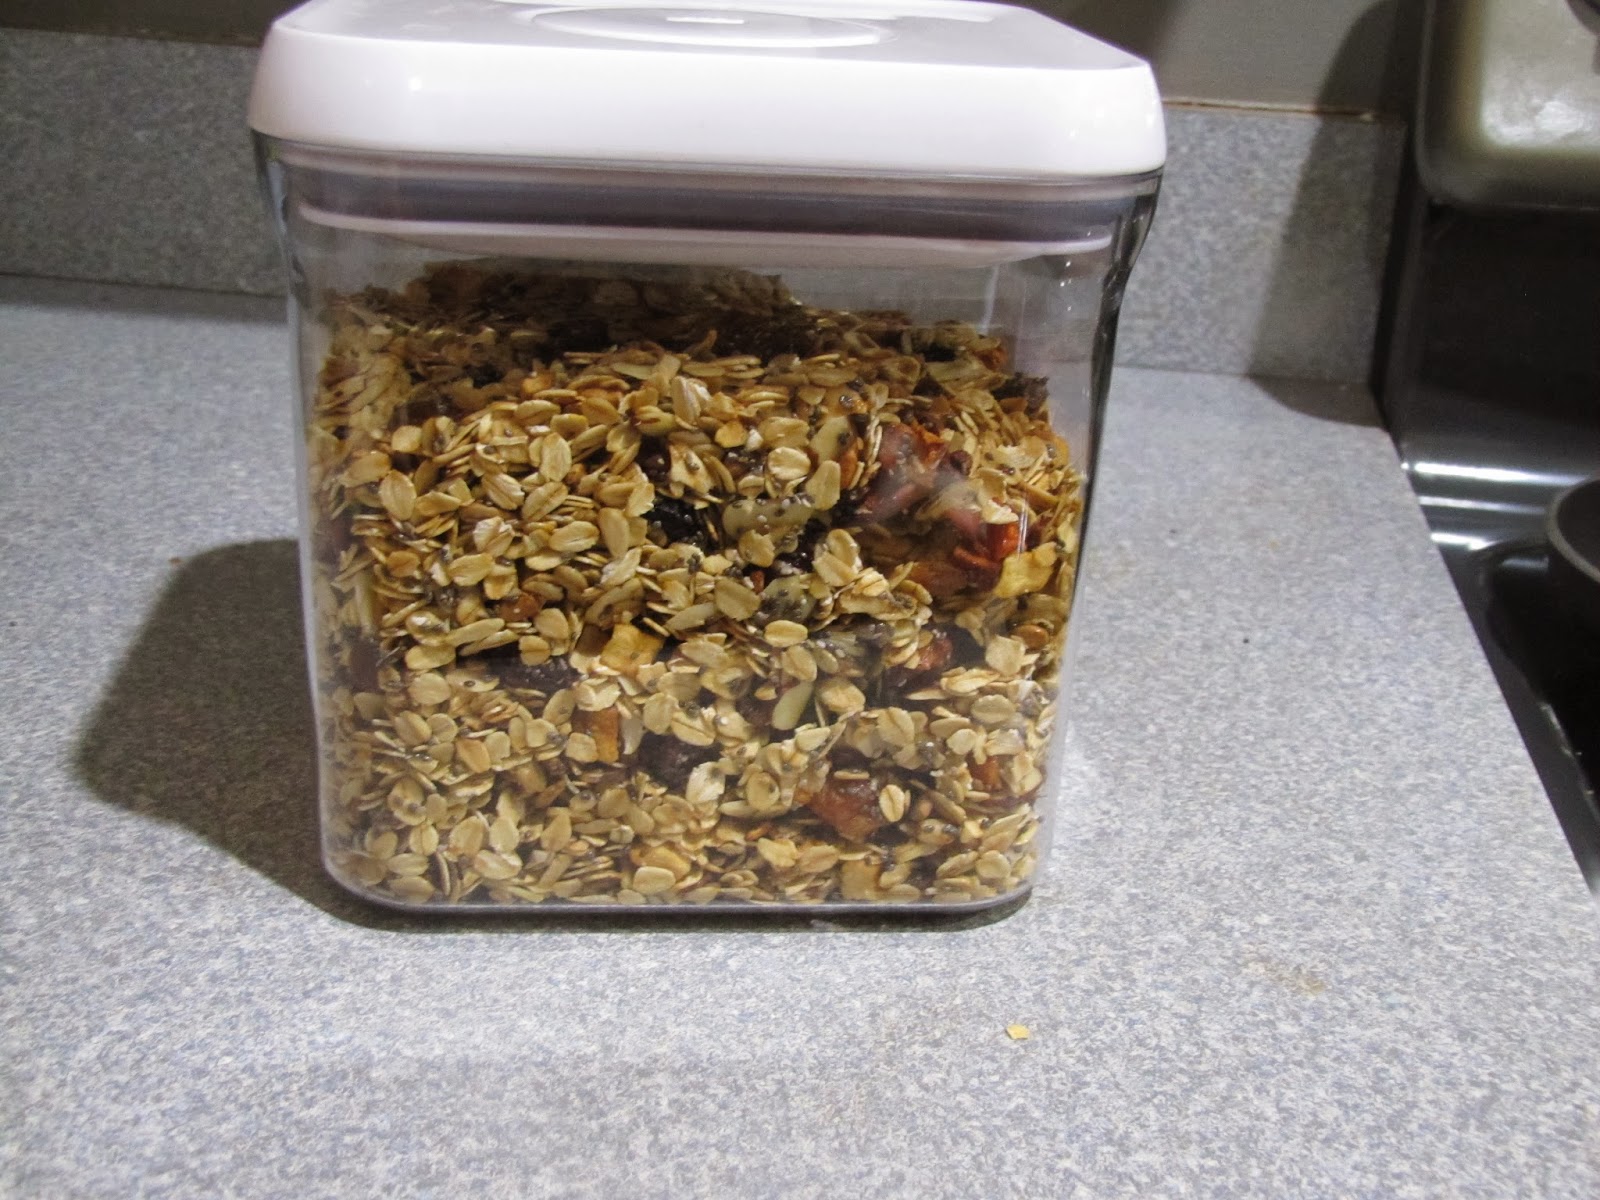
If you read my previous post, you would know that I am not good at eating healthy breakfasts. I buy all these ingredients, have grand plans, and then I wake up too late, get distracted watching the DVR from last nights episodes, or just don't feel like making breakfast. Since, it is Martin Luther King Jr. Day I had an extra day off to get ready for the week. In my previous post I made granola that I could add to Greek Yogurt for a healthy snack or breakfast. In this post I am making Veggie Frittata Muffins. 
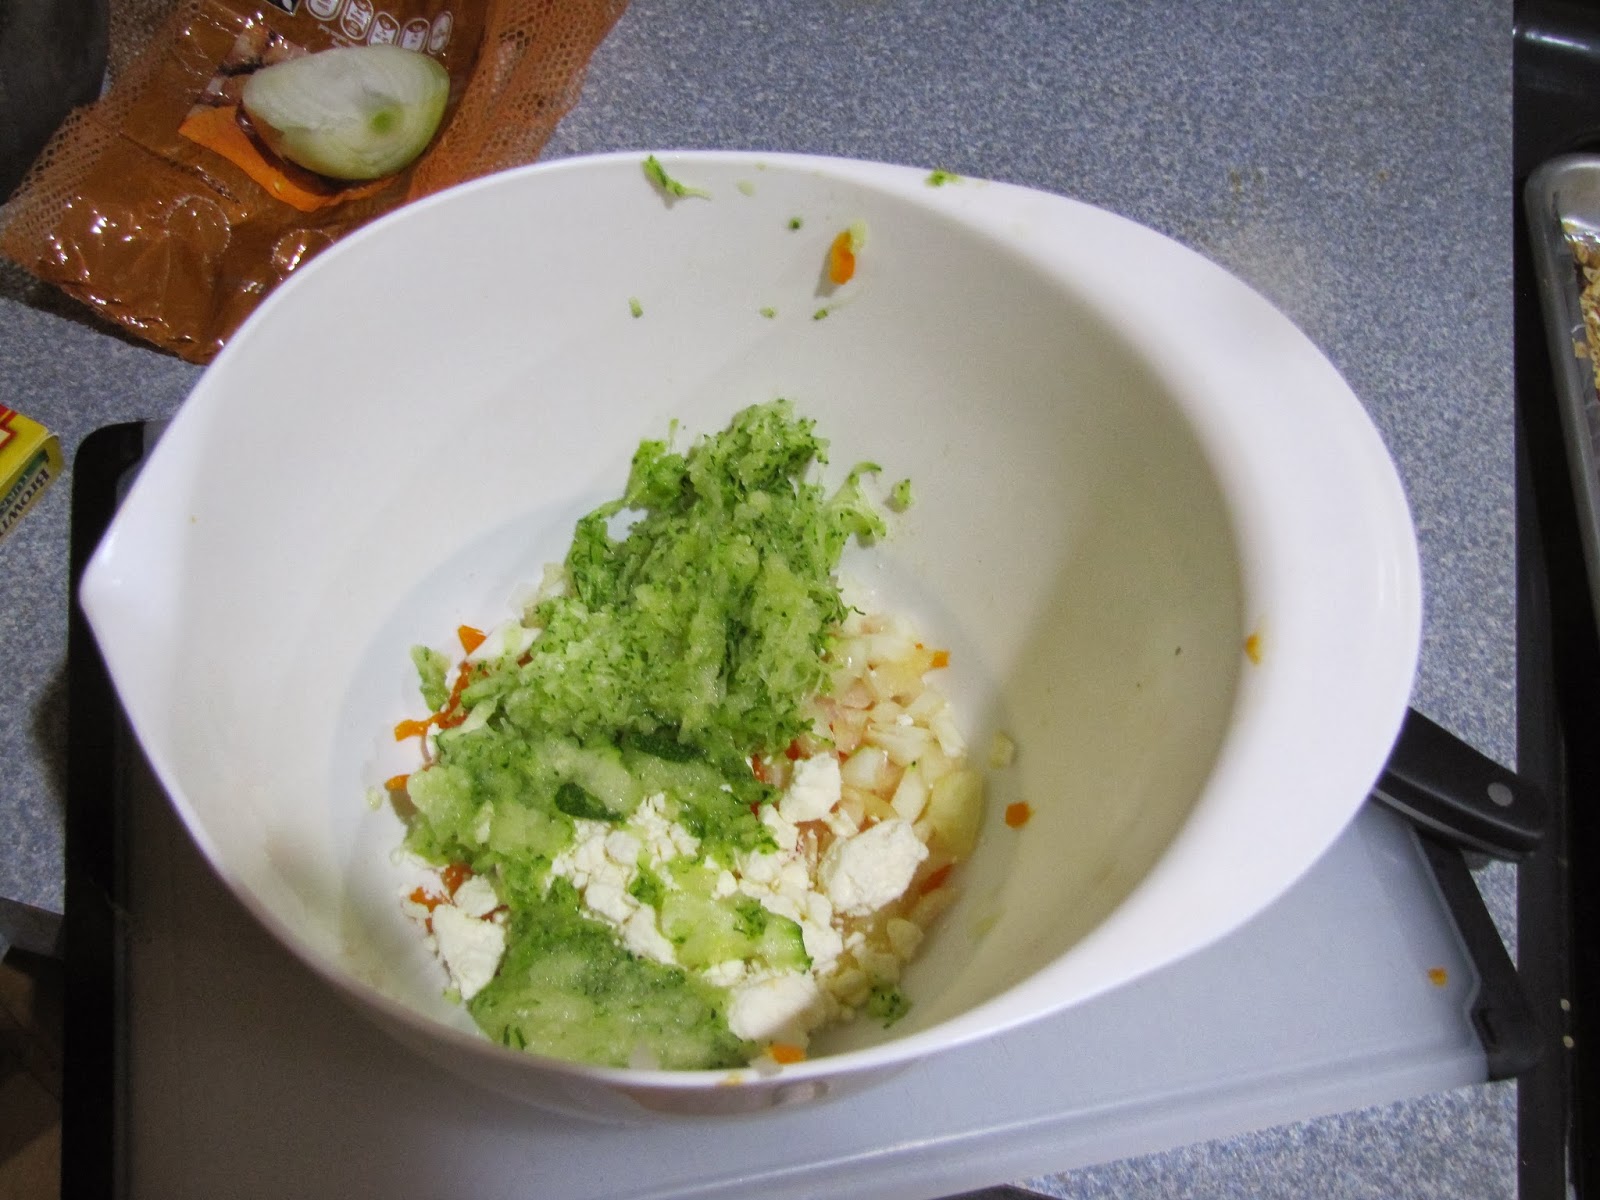
I began by warming up some veggie ground crumbles that are frozen. I did this to make sure I had some good healthy protein in my frittata while giving the muffin an appearance of having meat in it. I am hoping I can trick my boyfriend into eating them....I have not been successful thus far. I warmed up 1/2 cup of "meat" on the stove to make sure it gets cooked all the way through.
I then cut up three small sweet bell peppers. I happen to have orange, but you can use ANY color. 


 I then added 1/3 cup of feta cheese, and 1/2 small onion.

 I took 1 large zucchini and cut off about 1/3.
 I then shredded it into the bowl.
 Add salt and pepper to taste and make sure to mix well.
 You will need 7-8 eggs. Egg beaters have had some effective advertisements recently and I bought a small thing of it to try it. You can use whatever you want... There are about 7 1/2 eggs in 1 small carton of egg beaters. So I used the whole thing.
 Add cooled cooked meat to the bowl.
 Then crack/pour eggs into the bowl. Mix well.
 Fill muffin tin (you can use mini-muffin pan too, but really what's the point.)


Cook in preheated 350 degree oven for 10 minutes.
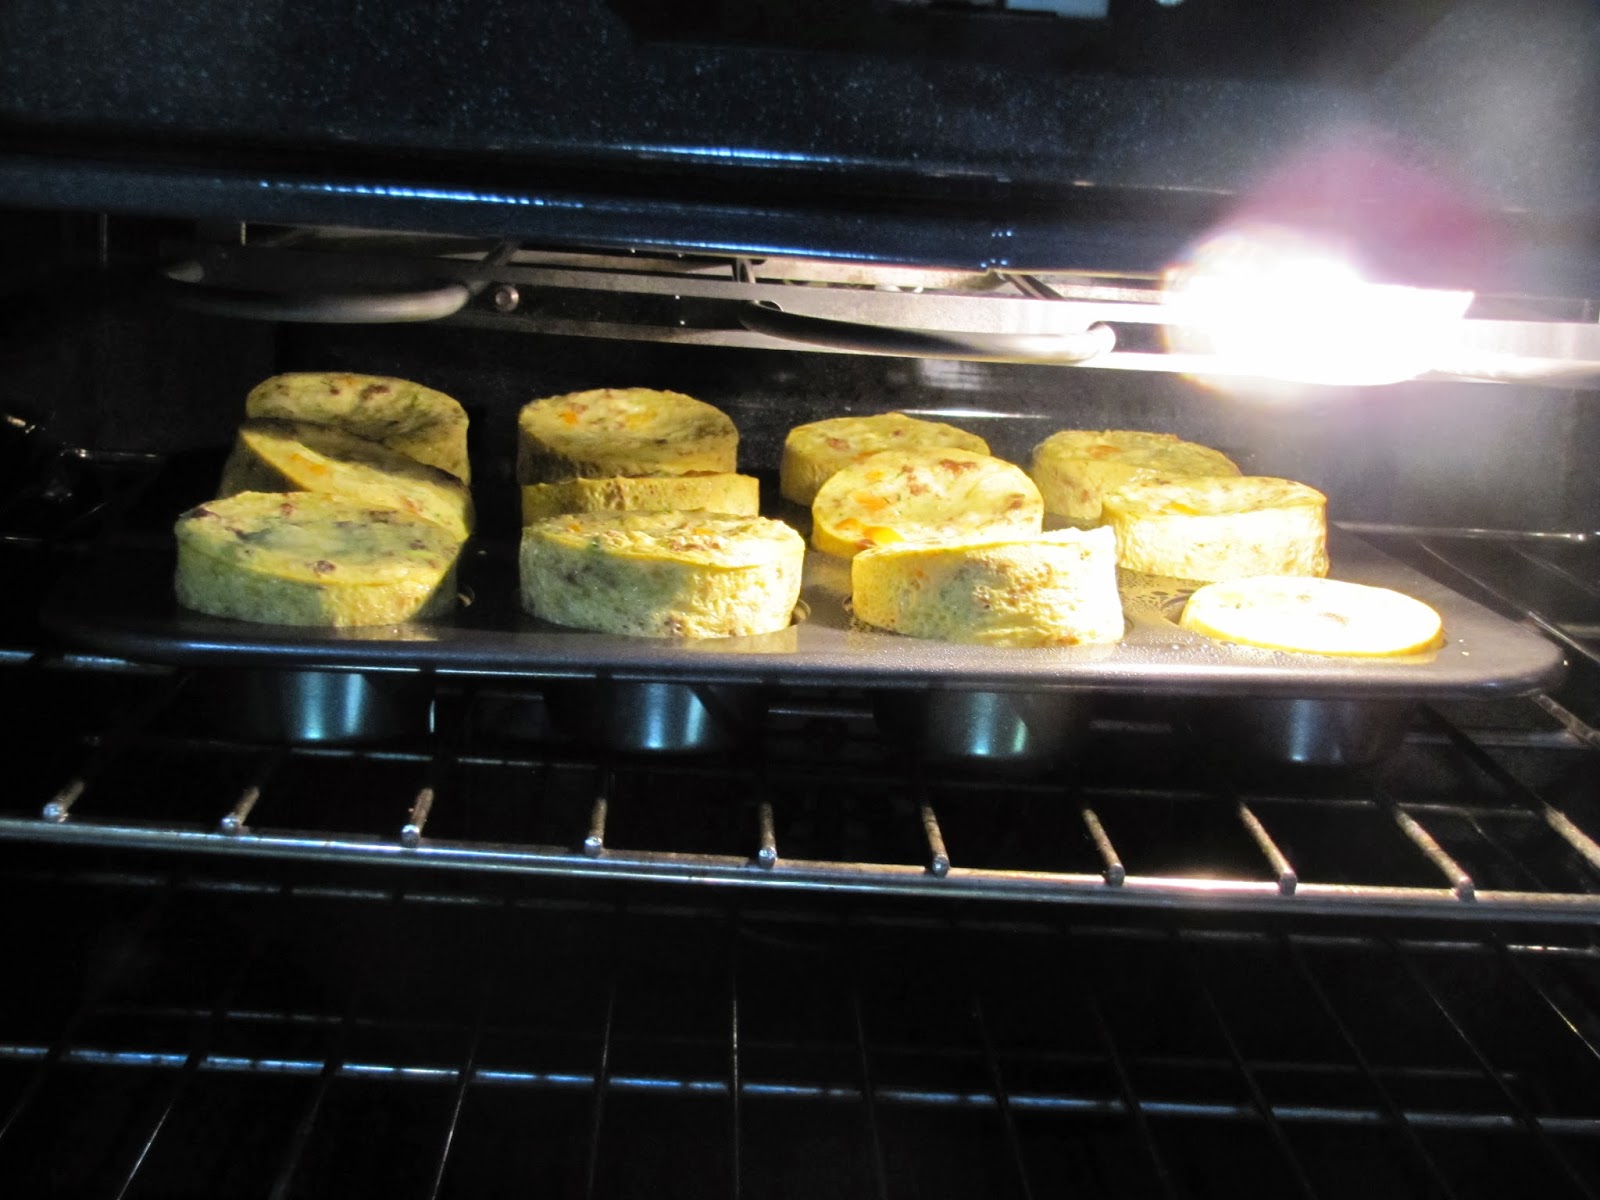
 I might have filled my muffin holes a little too full....

 But then they started to deflate...
and ended up being the perfect size!!! I don't know why the deflated. I found this website, but the answers were all varied sooo...


Pros: pretty easy and travel-able. 2 of them kept me full of about 3 hours. Lots of good protein and veggie goodness.

Cons: Only kept me full for 3 hrs. I don't know how to fix that....

Conclusion: I froze some so I can eat them in a couple of weeks. I don't want to get tired of them and never make them again. They are good for a quick snack or a small part of breakfast.

Homemade Granola

Breakfast is a pain in my A**. I never know what to eat. I hop on food trends but quickly tire because of the work involved. Because I have tried all of these different types of trends I have accumulated a lot of random ingredients...luckily they are all healthy.....


but I have three different types of oats (all unopened).


 and two different types of Chia seeds...


So I decided to put all of these healthy ingredients to good use by making my own granola (I am embarrassed to admit that I didn't know store bought granola was bad for you until a couple of months ago).  I based my recipe off of a recipe I found on Elizabeth Rider's website.


I began by melting 4 Tablespoons of coconut oil, 2 Tablespoons of maple syrup, and 2 Tablespoons of honey.  Melt over medium low heat.


 The original recipe said to just mix it in, but I wanted to make sure that the sweetness covered everything and both my coconut oil and honey had solidified so I wanted to warm it up.
 While the coconut oil and honey are melting, pour 4 cups of granola into a separate bowl.
 add 1/4 cup Chia Seeds, 1/4 cup Sunflower seeds, and 1 cup of slivered almonds.
 then add 1 cup of dried fruit. I put in an entire bag of Sun Maid's Fruit Bits because it has dried mango, dried apple, cranberries and 3 other dried fruits.

Stir WELL. The original recipe told you to use your hands, I just used a wooden spoon.
 When the coconut oil and honey are fully melted pour over mixed oats and stir to combine.

 This is the time to add more ingredients if you want.


Bake at 300 degrees for 30 minutes.

 Makes 2 pans of delicious granola.


Store in air tight container for up to two weeks in the fridge.


Or you can eat right away over some Greek yogurt with some agave nectar for a little more sweetness.


Pros: Really easy to make and it stores for a long time. After making it once, I don't have to make it again for two weeks!!! Crunchy and sweet.


Cons: Can't think of any....


Conclusion: Will make again since I still have leftover oats and other ingredients.


Sunday, January 19, 2014

Quick and Easy Chicken Parmesan with Gluten Free Spaghetti

 There are some nights that I just don't feel like cooking but I don't want to order pizza or Chinese. These are the nights that I typically eat boxed macaroni cheese or something from my freezer. Sometimes these nights are preceded by me thawing something, but more often or not are a result of me forgetting to thaw something because I was in a rush that morning.


This past night I had some thawed chicken but didn't want to use the original recipe that I had planned for it (it seemed like WAY too much work). Instead I pulled out some frozen spaghetti sauce that I had previously made. I pulled out two because I have them frozen into individual servings. These are awesome to have on hand when I am working late or going out on a girls night. They are a perfect meal for my boyfriend (WHO LOVES SPAGHETTI) and can be quickly thawed.  All you have to do is throw them into a pot with a little water (about 1-2 Tablespoons). Err on the side of caution...it is much easier to add MORE water then to take out some once it starts melting. Cook on medium low until sauce warms up.


During this time, pan fry chicken breasts until they have a nice golden brown color on both sides.


Make sure to keep an eye on your spaghetti sauce. You can also just warm up store bought Marinara sauce.


 When the chicken is browned on both side place into a deep but small oven-safe cooking dish. You want the chicken to be completely covered in sauce, but still have some sauce left over.


Now comes the ultimate choice....you could make this healthy by only putting on a little cheese...or you could do what my boyfriend did while my back was turned...and smother with cheese. By the time I returned from taking pictures he had put a handful of shredded mozzarella and Parmesan over the chicken.


By this point I figured to hell with it so we cleaned out the fridge by putting some slices of provolone on top of the shredded cheese. Put dish into preheated 350 degree oven for about 30 min.


 While the chicken is cooking we made our spaghetti. I have found a gluten free pasta made by Barilla and wanted to try it with this dish. The pasta is made out of corn and rice (you smell the corn while you cook the pasta) and tasted pretty good with the meal.  It did not overnight well. It was very crunchy the next day. We made two boxes because my boyfriend wanted extra pasta (no clue why...he is very strange sometimes)


 The good news is the pasta only takes 10 minutes to cook which is quicker then regular pasta!


 Serve ooey gooey chicken parm over spaghetti and enjoy!


Pros: Nice and easy...did not take much effort. It was a great winter meal because it was HOT and CHEESY.

Cons: I don't know if the gluten free pasta was up for this task. It gave the meal a healthier taste and feel but if I make this again I would probably use regular pasta.

Overall: Tasted Delicious! It is a keeper....but next time I really SHOULD keep it healthy and hide the cheese.


Flank Steak Taco Competition

I am always trying new recipes that I find on the internet. Partly because I can never find the recipe I liked, but also because I am trying to improve what I eat.  Tonight, I decided to make a head-to-head battle of Korean Tacos using a marinade that I have used before with an Asian BBQ sauce I found at Whole Foods.  I began by cutting my flank steak in half.


The first marinade had:
2 tablespoons soy sauce 
1/4 cup sugar or 1/6 cup of Agave Nectar1 tablespoon minced garlic 2 teaspoons Asian sesame oil 2 teaspoons mirin 
2 teaspoons water
1 Tablespoon of cilantro
2 tablespoons of ginger
 The second marinade was just the bottle of Asian BBQ I found at Costco.


I put both in a Ziploc bag and refrigerated overnight.
 The next day, I pan-fried both steak in their juices on medium for about 10-15 minutes.


While the steak was cooking I made the salad for tacos. I will forewarn you, I made a mistake grocery shopping. I don't know if I am the only one in the world but I need to grocery shop ALONE. I get very overwhelmed in the store even when I have a grocery list. All of the colors, sounds, people, sale signs, etc. just overwhelms me. I get very distracted and can often forget things. In this case, I mixed up things. I meant to get shredded cabbage but instead got shredded lettuce...it worked in this recipe but would have been better if it was cabbage.

 I used 1 cup of shredded lettuce and added 1/2 lime.
 I added 4 thinly sliced radishes
 and 3 thinly sliced mini-cucumbers.
 I then added 1 tablespoon of cilantro, 1 teaspoon of mirin, 1 tablespoon of sirachi, and 1 tablespoon of soy sauce. Mix well.
 By this time, the meat should be completely cooked. This was the 1st marinaded meat.
 This was the Asian BBQ sauce marinade.
I warmed up the tortillas (A step I used to skip and have learned not since I tried it with a warm tortilla!) added 2-3 slices of meat, sour cream (OF COURSE!!!) and the lettuce mixture.


Pros: Good flavors. My boyfriend choose instead to make rice and served the meat and lettuce over rice and loved it.

Cons: As I mentioned before...cabbage would have been better. Meat was too tough. Maybe it was the way I cooked it.

Conclusion: Marinade #1 was the best! It has great Asian flavors as opposed to the 2nd marinade that had more of a smoky BBQ flavor.  A very filling meal. :)